How to Set up a Staging Site with Softaculous, Duplicator & WP Staging
Managing a live website can be tricky. One small mistake can potentially break things for your visitors. However, what if you could test updates in a safe environment before deploying them?
This article will guide you through the process of setting up a staging site using Softaculous in cPanel with just a few clicks! Additionally, we provide a guide on how to create staging sites using WordPress plugins like Duplicator and WP Staging.
In simple terms, what is a staging site?
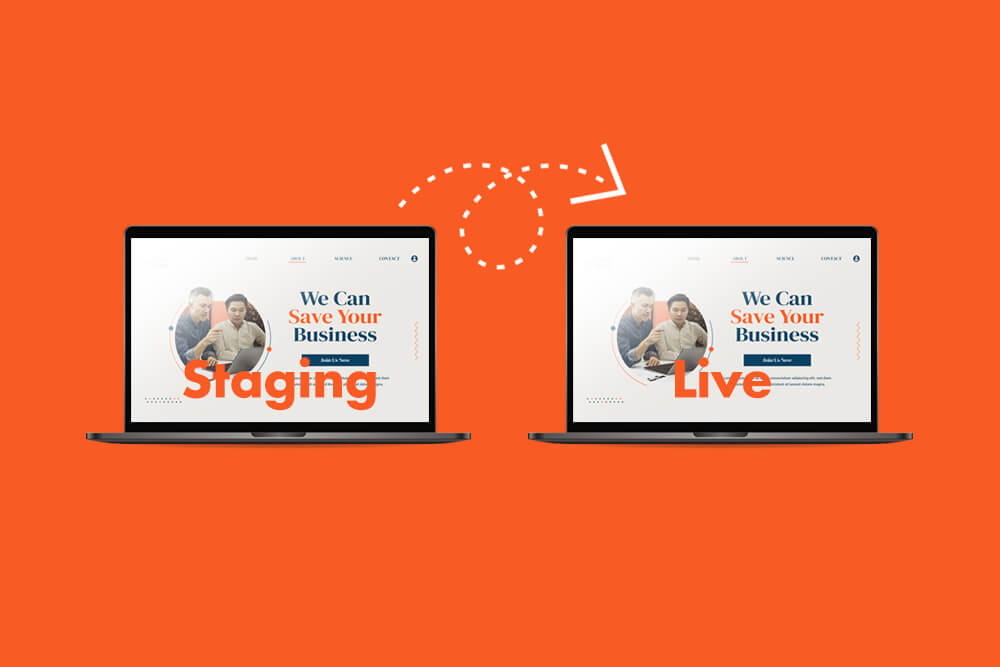
A staging site is a duplicate version of a live website located in a separate location, which enables developers and site administrators to test their website.
It allows for the replication of all site content and code before publicly pushing changes. In this way, any modifications can be thoroughly tested away from real users, ensuring that everything works as intended before going live.
What are the benefits of using a staging site?
A staging site provides a duplicate test environment for safely evaluating website changes before publishing them live. Some key benefits include:
- Troubleshoot errors, bugs, and problems without affecting the user experience.
- Test upcoming and current features without disrupting the live website.
- Modify new plugins and themes for compatibility before using them live.
- Avoid downtime and data loss during site maintenance.
How to create a staging site with Softaculous in cPanel
Softaculous is an application installer included in many web hosting control panels, such as the one used by Earth Girl Hosting. With features like content management system (CMS) installation, cloning, staging, backups, and restoration, it simplifies the common setup and management of websites.
The following two scenarios explain how you can easily create your staging website with Softaculous.
1. I installed my website with Softaculous
To create a staging site, you should check out this section, even if you didn't install your site using Softaculous, as some steps are similar:
If you previously installed your WordPress site using Softaculous, follow these steps:
1. Open your cPanel dashboard.
2. Click on the Softaculous App Installer under the Software section.
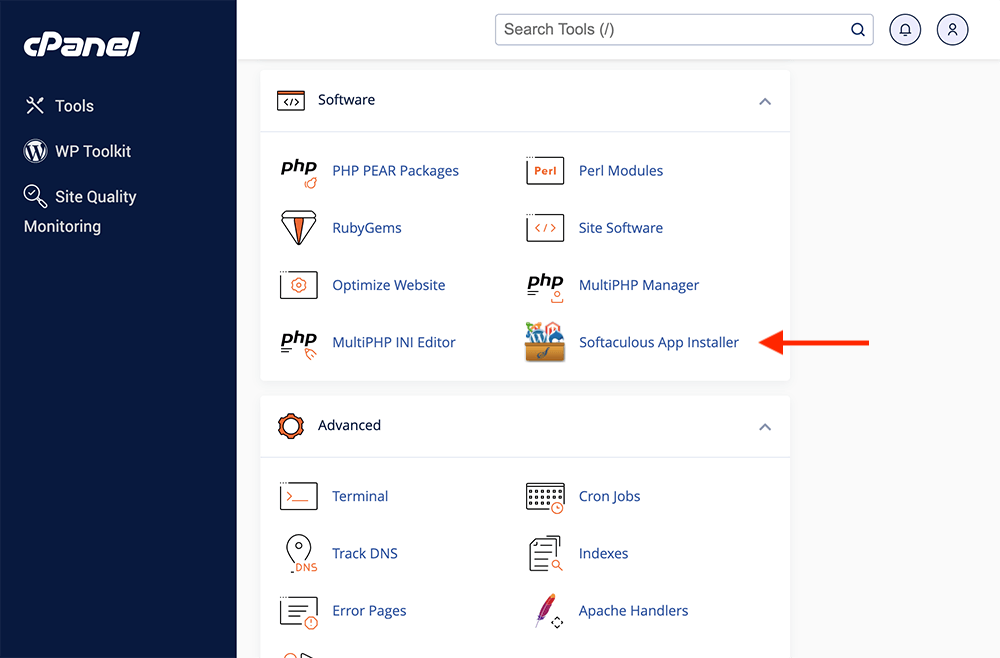
3. The Softaculous control panel will then appear.
4. Click on the box icon (All Installations) from the top menu to see your installations.
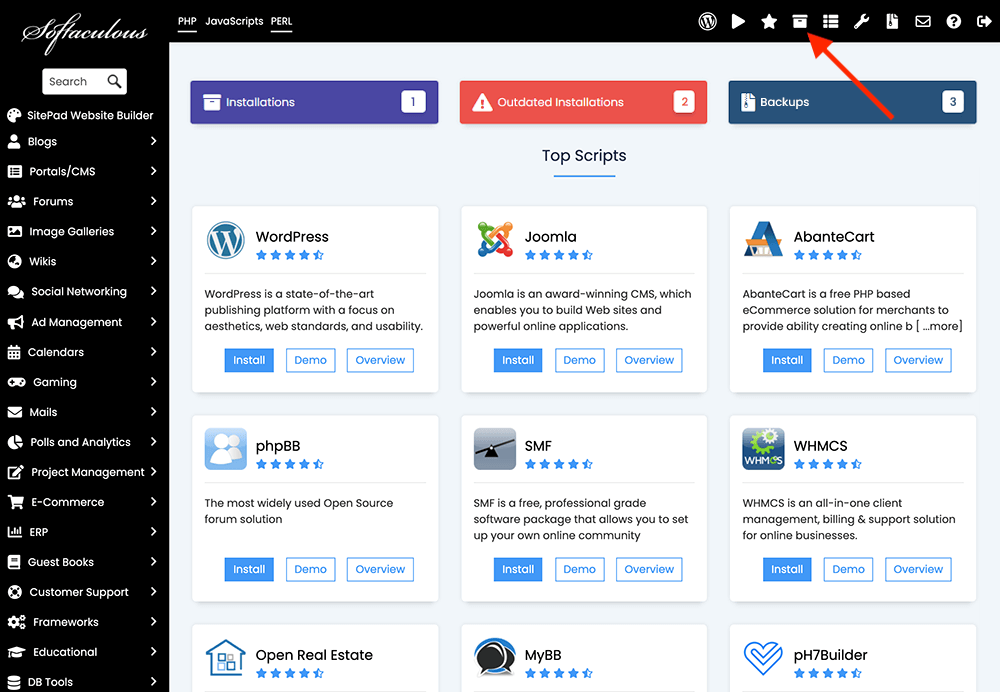
5. Click on the Create Staging icon.
![]()
6. Select a domain name and its protocol, and choose whether you'd like it within the site's directory (e.g.: https://example.com/staging/). The Database Name will usually be prefilled to a new one so you may not need to edit it.

7. Ensure that the Disable search engine visibility setting is checked in order to prevent Google and other search engines from penalizing your site for duplicate content.
8. Entering a Site Name would overwrite the current one of the live website. If you'd like the same site name, leave the field blank.
9. Click on the Create Staging button.
Note: Login credentials are similar to those of the main website.
2. I installed my website manually
Here are the steps you need to follow if you have never used the Softaculous app installer to install your site.
1. Log in to your cPanel dashboard (usually by just adding /cpanel to your domain, e.g.: https://example.com/cpanel).
2. Look for Softaculous App Installer in the Software section and click it.
3. You'll be redirected to the Softaculous panel.
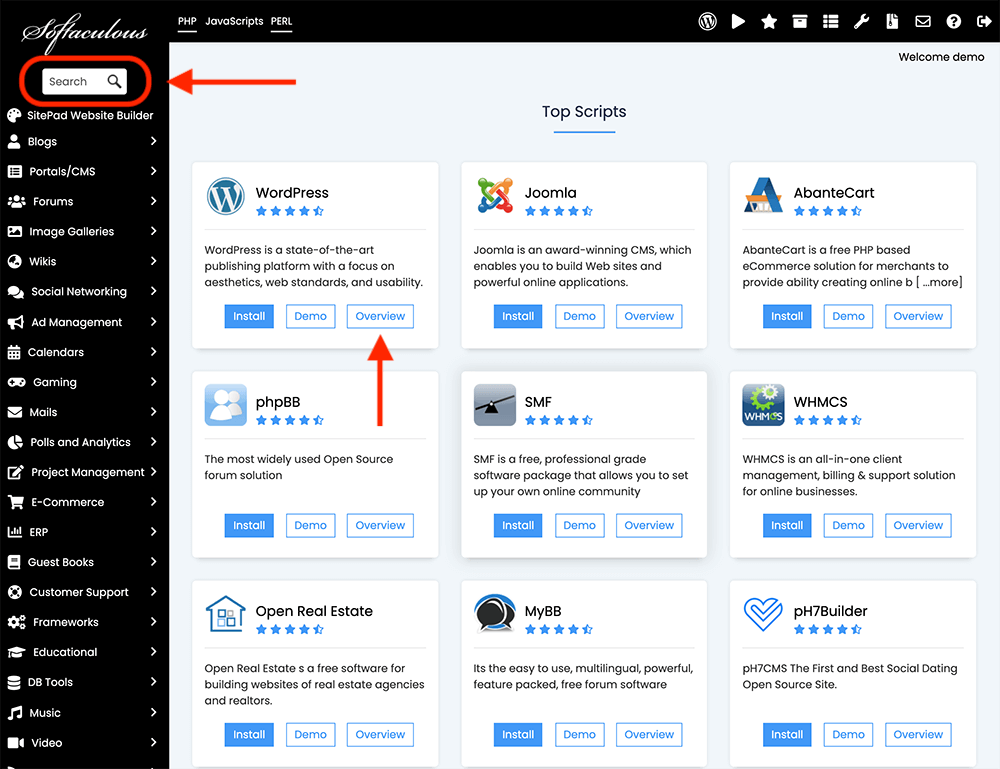
4. From the left sidebar, type the CMS used by your website in the Search box and press Enter.
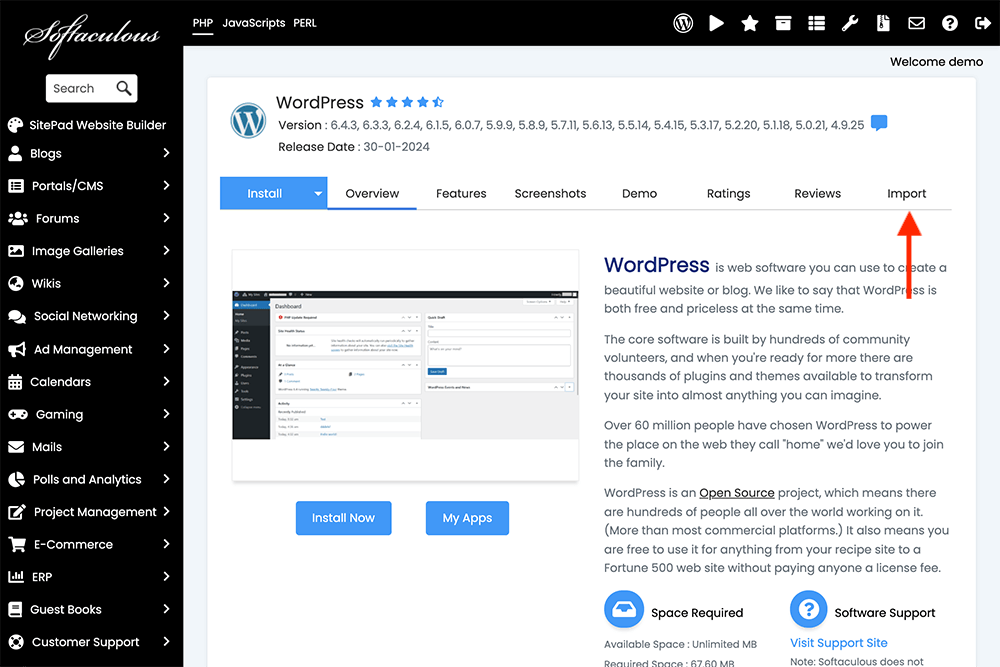
Note: WordPress may already be featured at the top of the page. Simply click on Overview instead. The search box helps you to find platforms such as OpenCart.
5. Once you've landed on the WordPress page, click Import.
6. On the Import Existing Installation from this Server tab, choose the https:// protocol if you're using an SSL certificate.
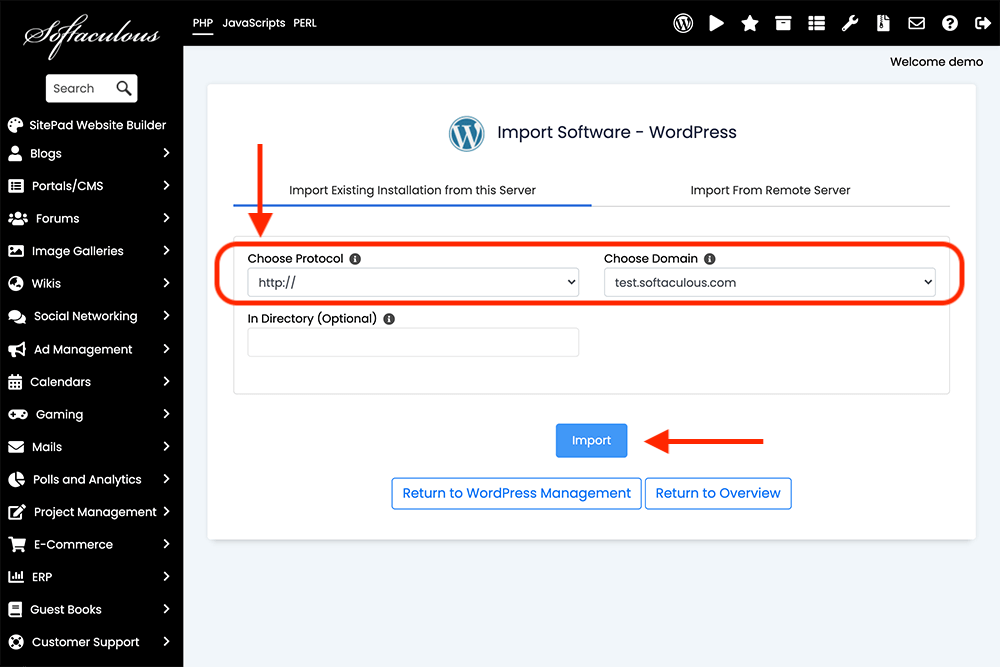
7. Choose your domain. Leave the In Directory field blank if your website is not located in a directory. Click on the Import button.
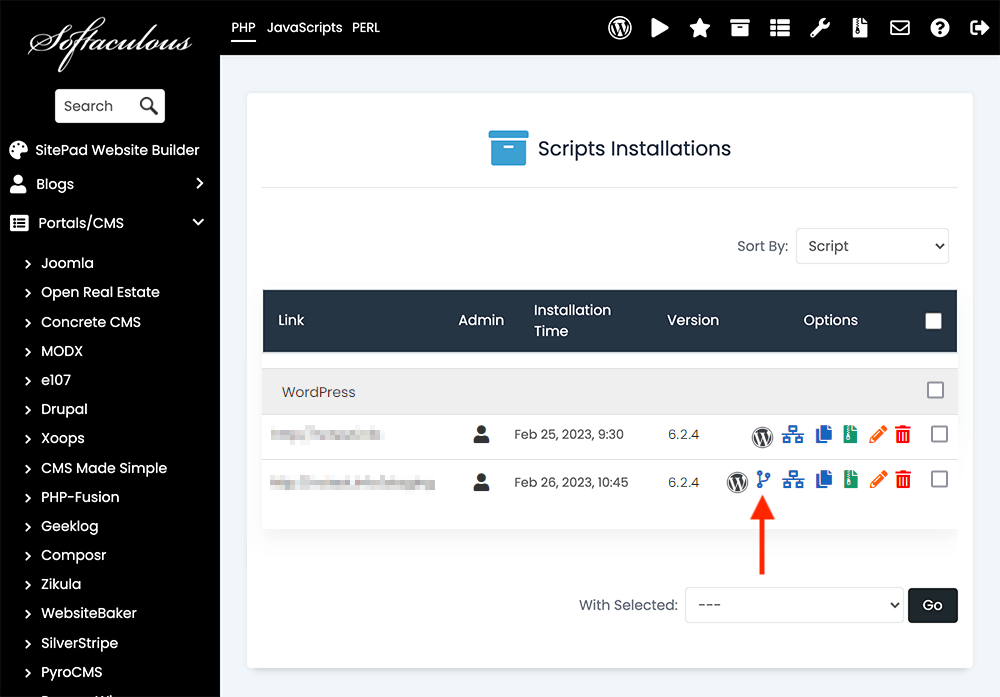
8. In the top menu, click on the box icon (All Installations) to go to the script installation page.
9. Click on the Create Staging icon next to your site's name and follow the instructions, starting from point 6, in the above "I installed my website with Softaculous" section.
How to push your staging site to live with Softaculous
Let's say you've created a staging site, added new features, and customized it a bit. Moreover, your site worked without any issues after every update. Now, do you need to do all the same things on your live site as well?
The answer is no! There's a "Push to Live" option on the staging sites that allows you to reflect your work on your live site. In this section, you'll learn how to do it.
1. Open your All Installations page on the Softaculous dashboard (box icon).
2. Click on the Push to Live icon next to your staging website.
Create Staging site for a WordPress multisite network with Softaculous
To create a staging site for a WordPress multisite with Softaculous, you need to do the same as you did for a single site. You can choose each of your subdomains from the Choose Installation URL on the staging page. In case of any errors, you can reach out to softaculous.deskuss.com for assistance.
How to create a staging site using WordPress plugins
In this section, you’ll learn how to create a WordPress staging site using known plugins like WP Staging and Duplicator.
Duplicator
Duplicator lets you create a copy of your current website and upload it to a new directory where you can test your changes and edits. So, before using the plugins, you first need to create a subdomain in cPanel:
- Log in to your cPanel dashboard and choose Domains > Create A New Domain.
- Type your subdomain name, like “staging.yoursite.com” in the Domain field.
- Deselect the Share document root checkbox.
- Click Submit.
You can learn more here.
Then, to create a staging site with Duplicator, follow these steps:
1. Download and install the Duplicator plugin.
2. From the left sidebar in your WordPress dashboard, click on Duplicator.
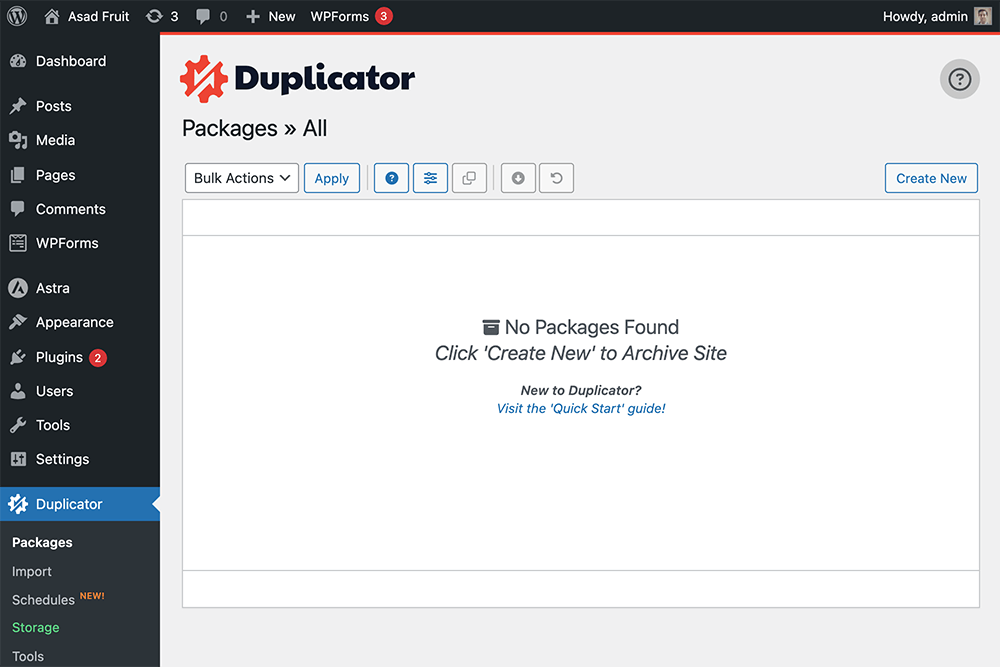
3. Select Create New and then click on the Next button.
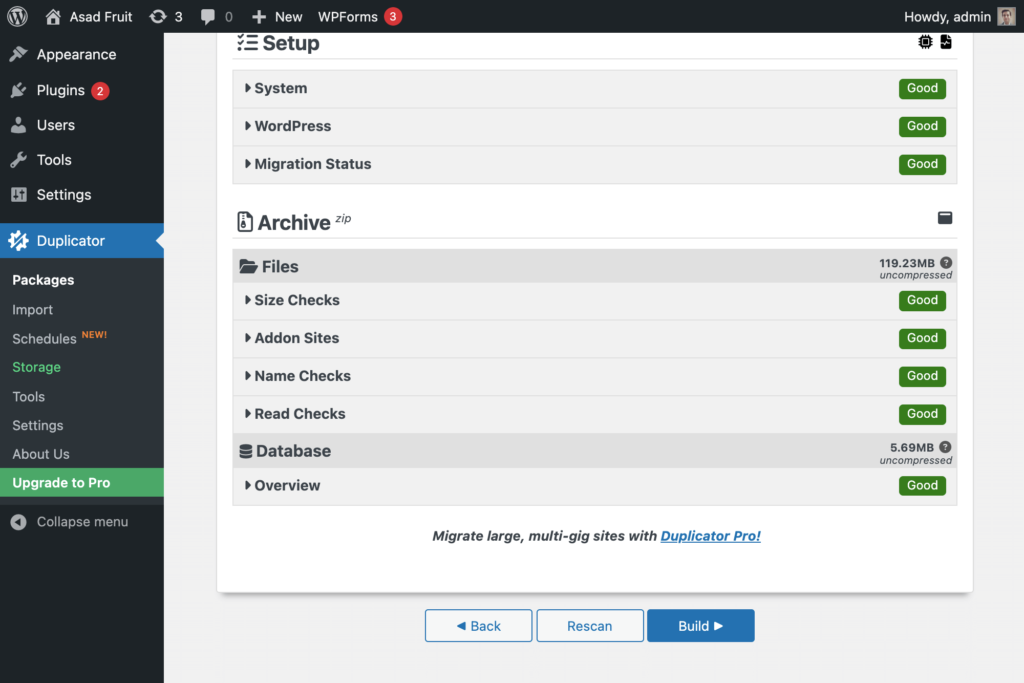
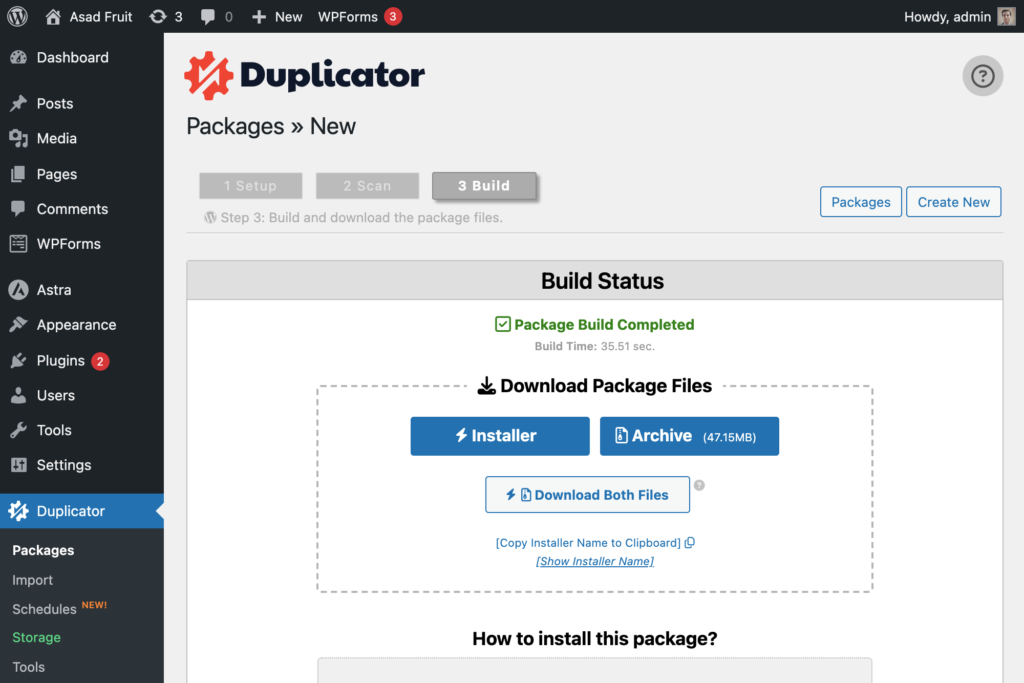
4. Click on the Build button and wait for your package to be created.
5. Download Installer and Archive files separately and then upload them to your staging directory from your cPanel dashboard.
6. When you successfully upload the files, open your installer file in a new tab. The address should be something like https://staging.yoursite.com/installer.php.
7. This opens a wizard to install your WordPress site and, once finished, you can use it as your staging website.
Note 1: If you encounter any error during the wizard process, contact the plugin developer or your hosting provider.
Note 2: Remember to disable search engine indexing for WordPress in your staging site. This can be done from Settings > Reading > Discourage search engines from indexing this site.
WP Staging
If you're looking for a much easier solution, WP Staging is the way to go!
1. Install WP Staging plugin.
2. Open WP Staging panel from your WordPress dashboard.
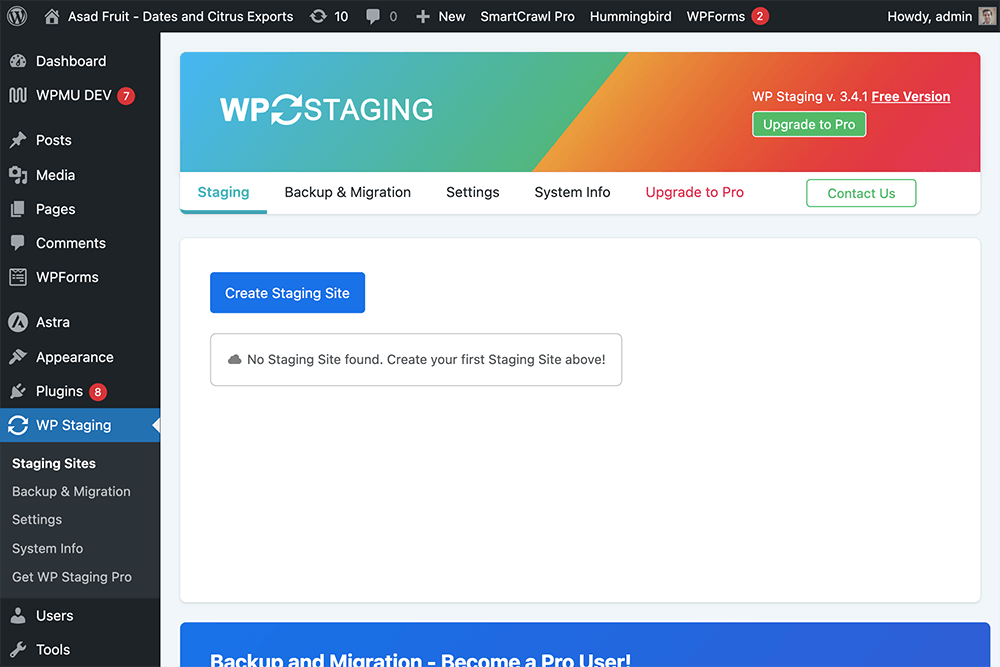
3. Click on “Create Staging Site”.

4. Select “Start Cloning”.
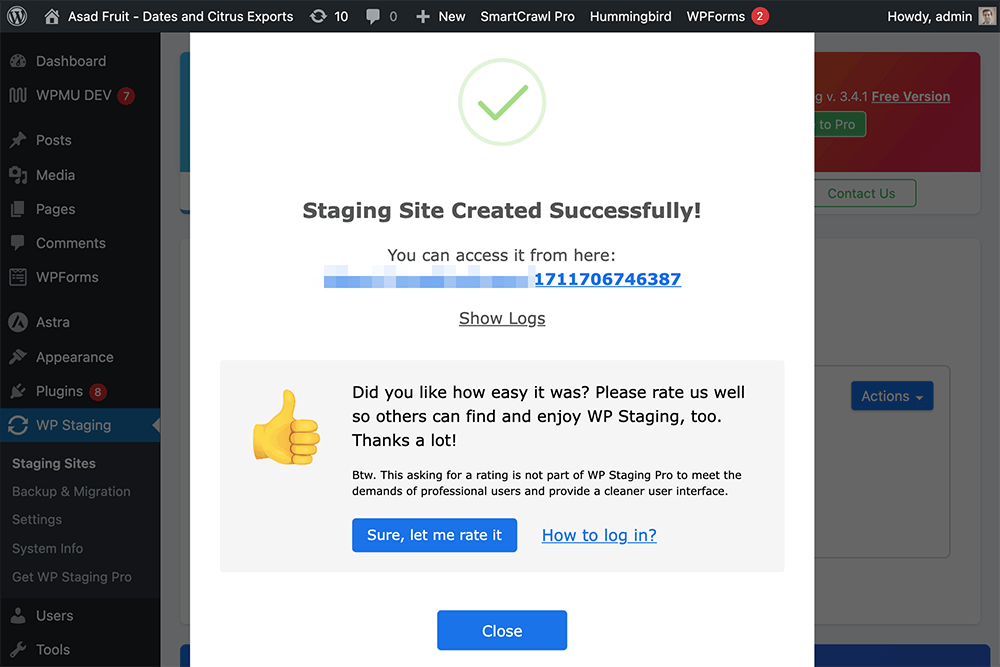
5. Wait for the process to be done, and then it will display a URL as your staging website.
Click on it.
6. Done.
Wrap up
In this blog post, we focused on the importance of setting up a staging site using Softaculous and WordPress plugins.
Softaculous offers a simple process for creating a staging site for nearly any CMS, whether you initially installed your website with Softaculous or manually.
At Earth Girl Hosting, you can use this service to create staging websites for OpenCart and WordPress websites.
Additionally, we explored the use of WordPress plugins like Duplicator and WP Staging, which provide alternative methods for creating staging sites.
By following the instructions provided, you can ensure a smooth testing process while troubleshooting errors and avoiding disruptions to your live site!